Technical consulting in laser scanning

TitleSurveying by laser scanning
Due to our independence, we contribute to your success. Our challenge is the processing of and the solution for your measurement task. Every time laser scanning is beyond the effectiveness and efficiency of traditional measurement, we will recommend a measurement system to you.
Discover the advantages in your first project. Benefit from the free first consulting and learn more about our "training on the job".
TitleLaser scanning hardware
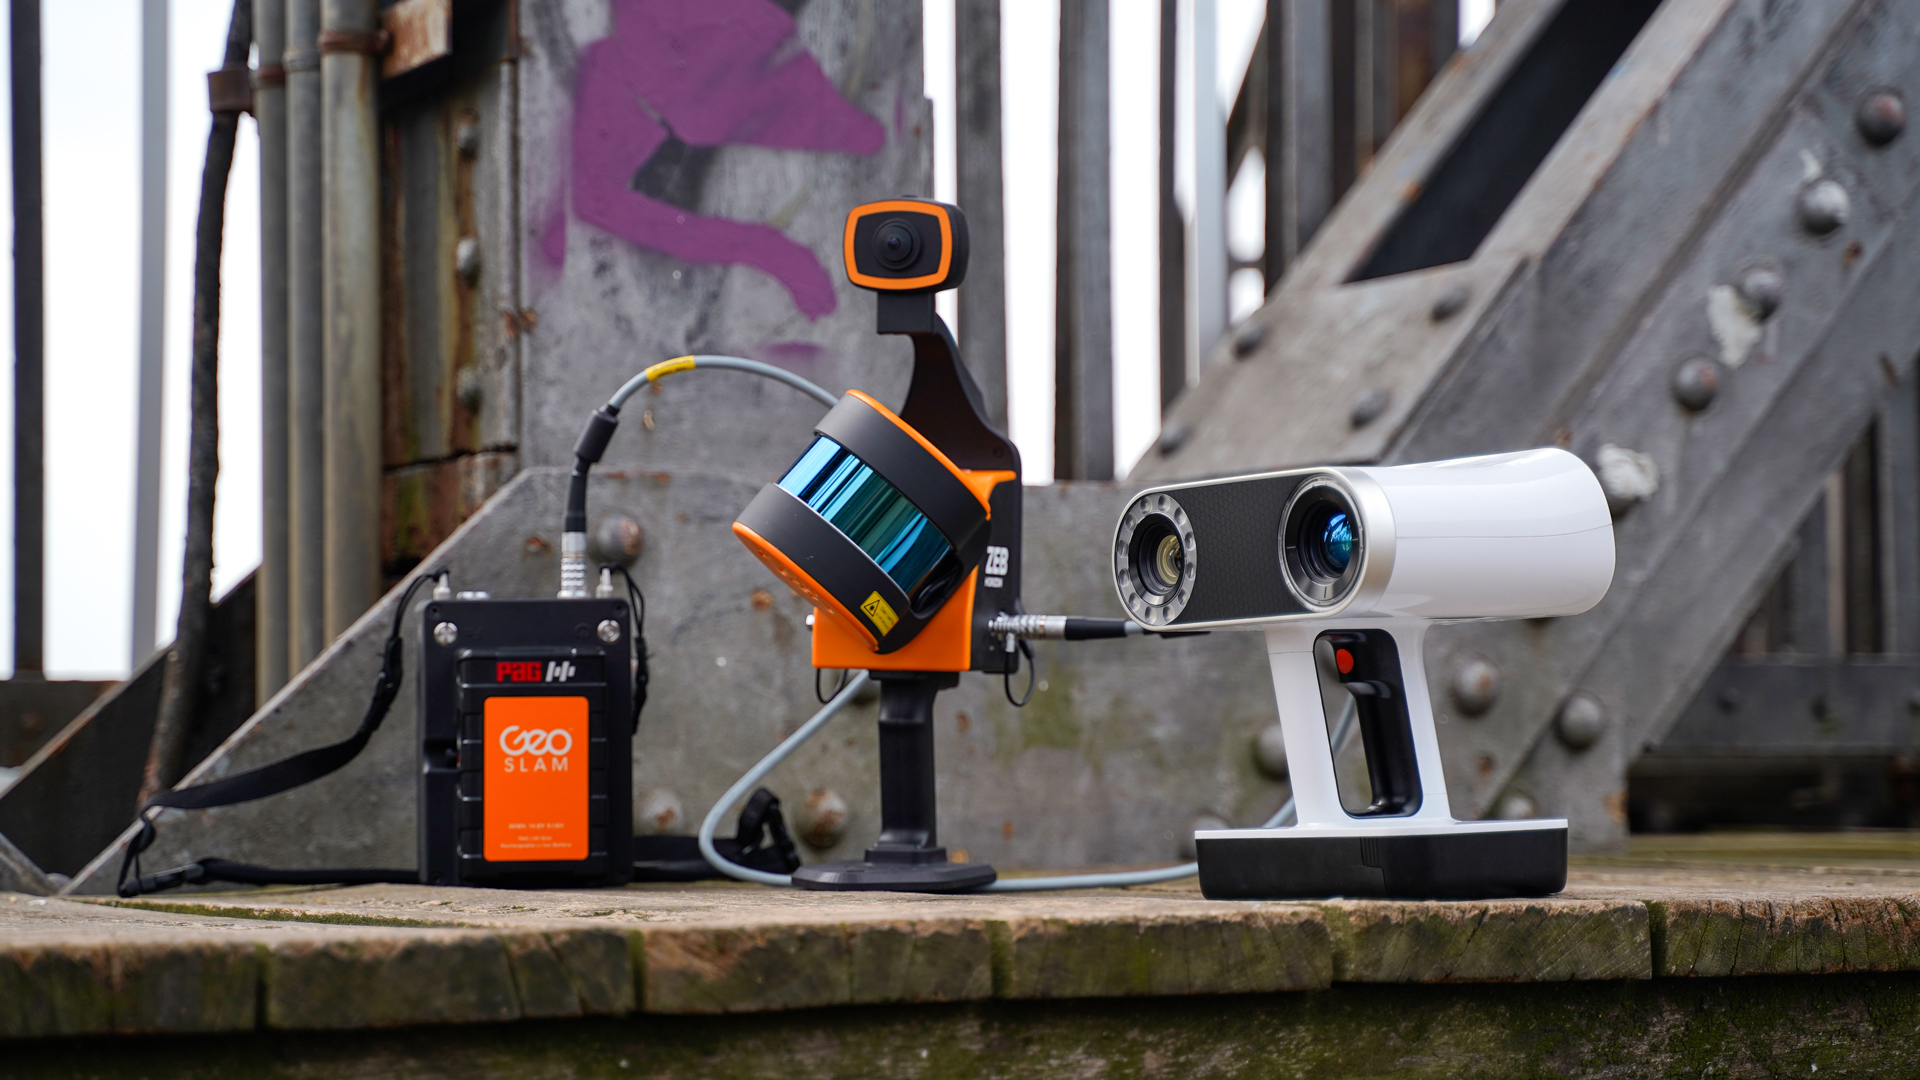
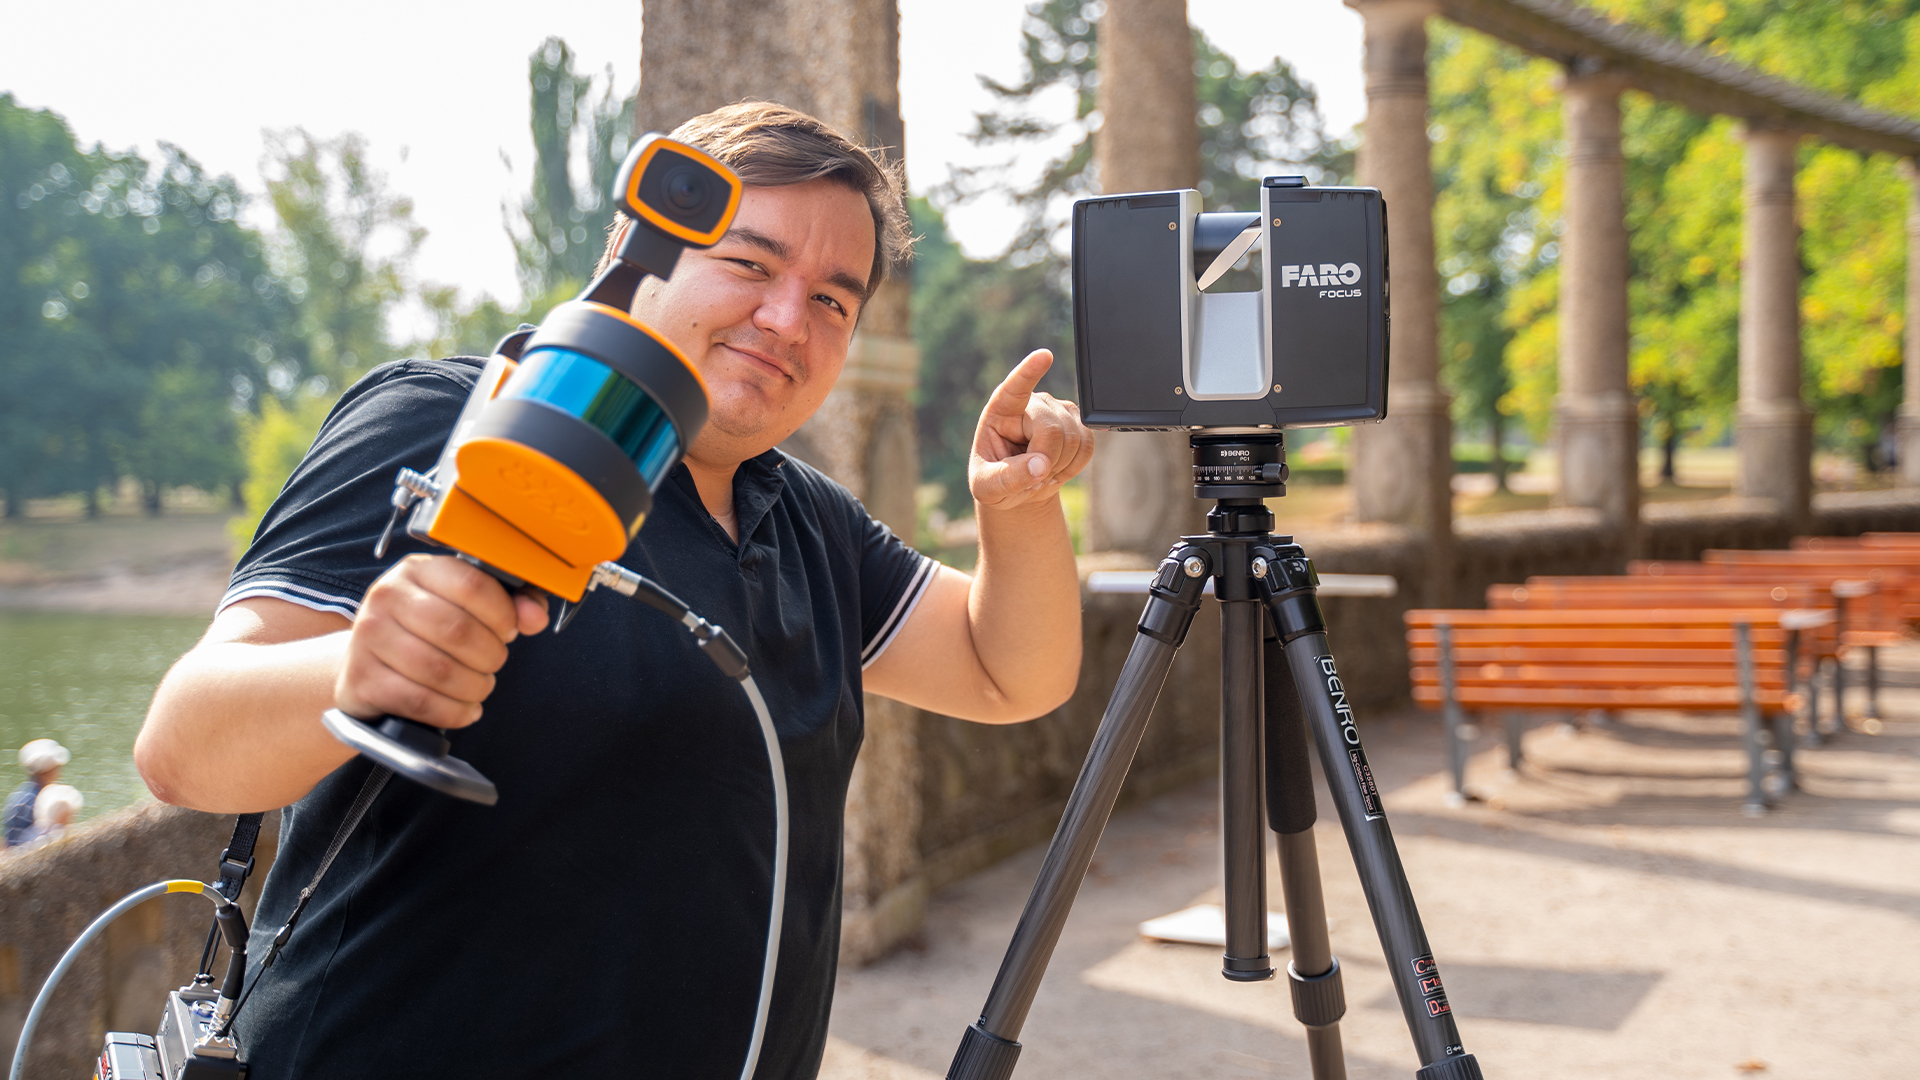
The key for data capture
Meanwhile, there is a huge range of various laser scanners. Diverse fields of application and specific customer requirements quickly push on with the technical development. For you as a user, the choice of the ideal 3D laser scanner turns out to be a challenge.
The data sheets of the 3D laser scanners describe special product characteristics without taking the interaction of the features into account. A direct comparison is not possible.
We would gladly explain the details to you in a personal discussion. Just think about the following questions:

Accuracies – Safety – Costs
- How accurate is the measurement result?
- How does the registration impact on the accuracy of the single laser scanner positions?
- What is the role of the surface's reflection property?
- Which impact do the reference points have?
- Is laser scanning suited for highly accurate applications, for instance quality assurance?
- Which laser class does the laser scanner have?
- Which data format is used?
- How much time is estimated to be spent for scanning?
If you are not familiar with all questions, feel free to make use of our free consulting and benefit from more than 15 years of experience in the field of laser scanning technology. We are looking forward to talk to you personally.
TitleLaser scanning software
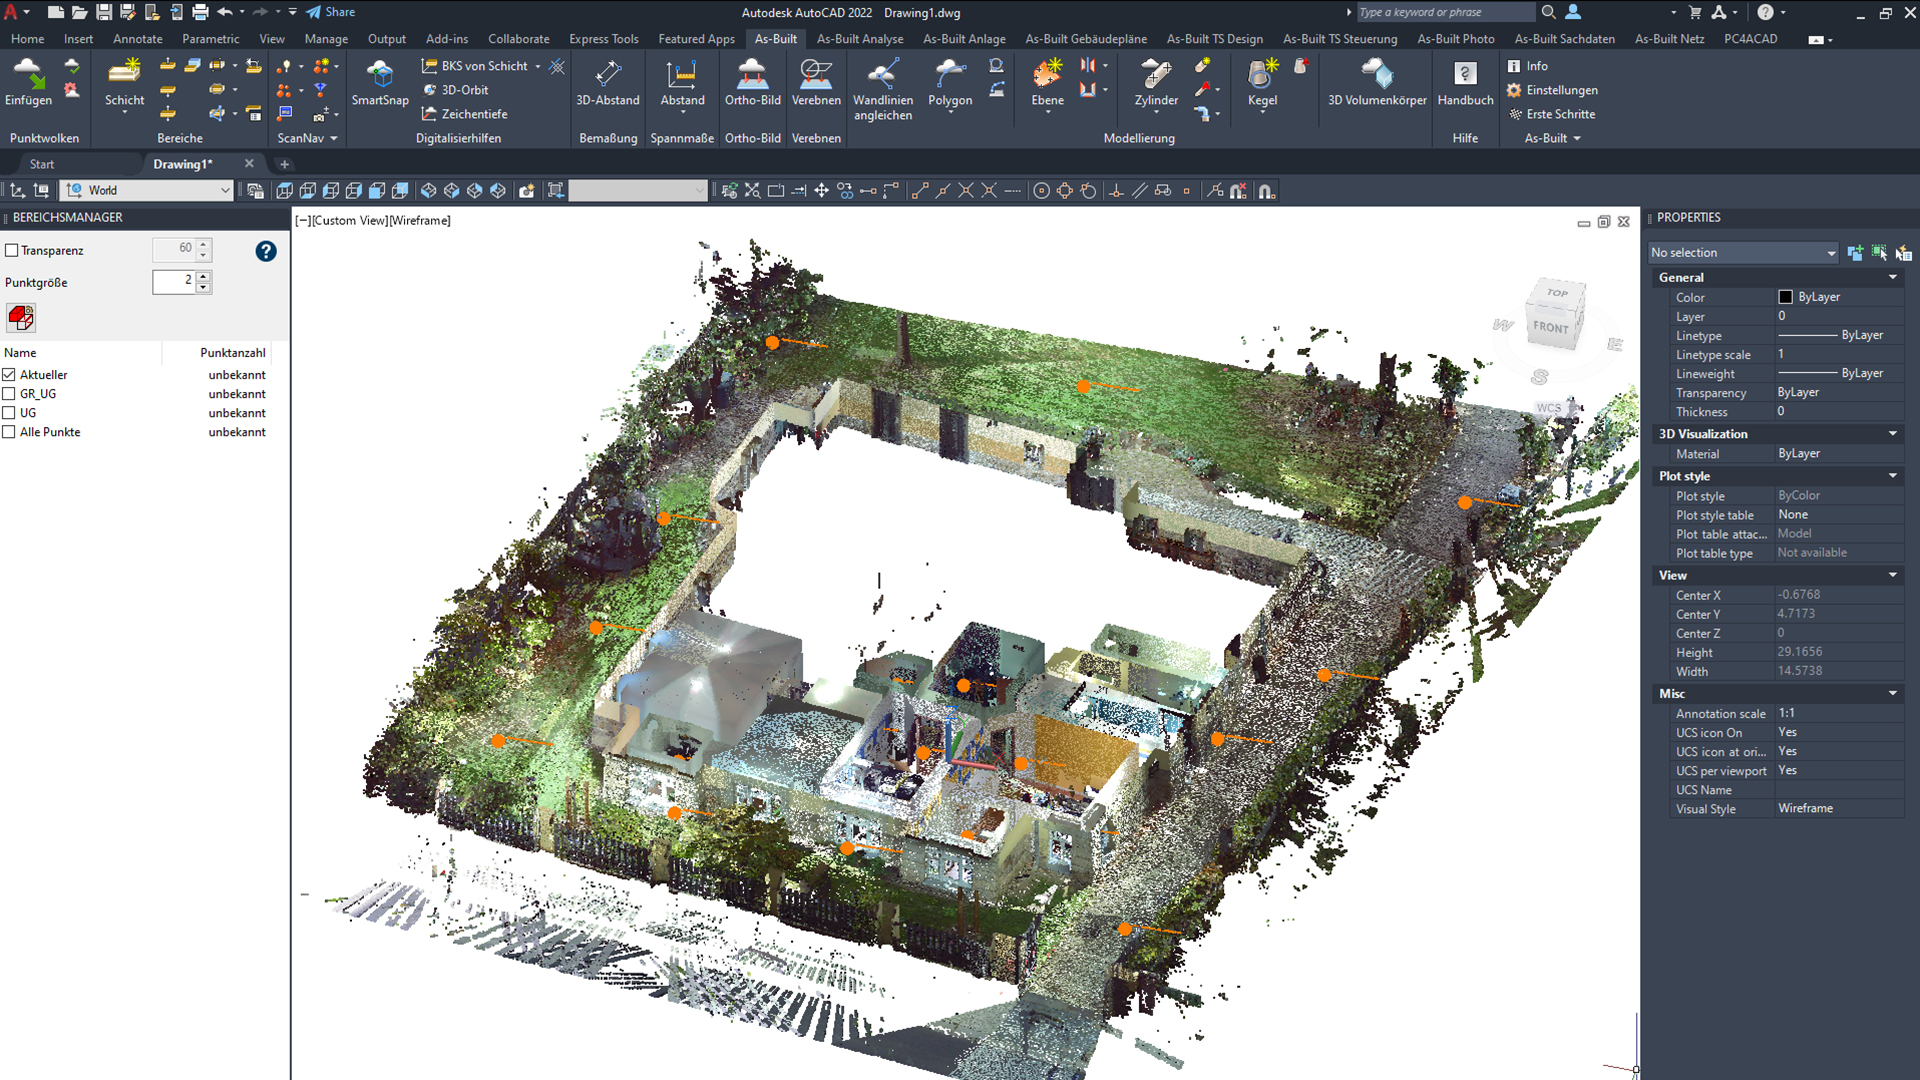
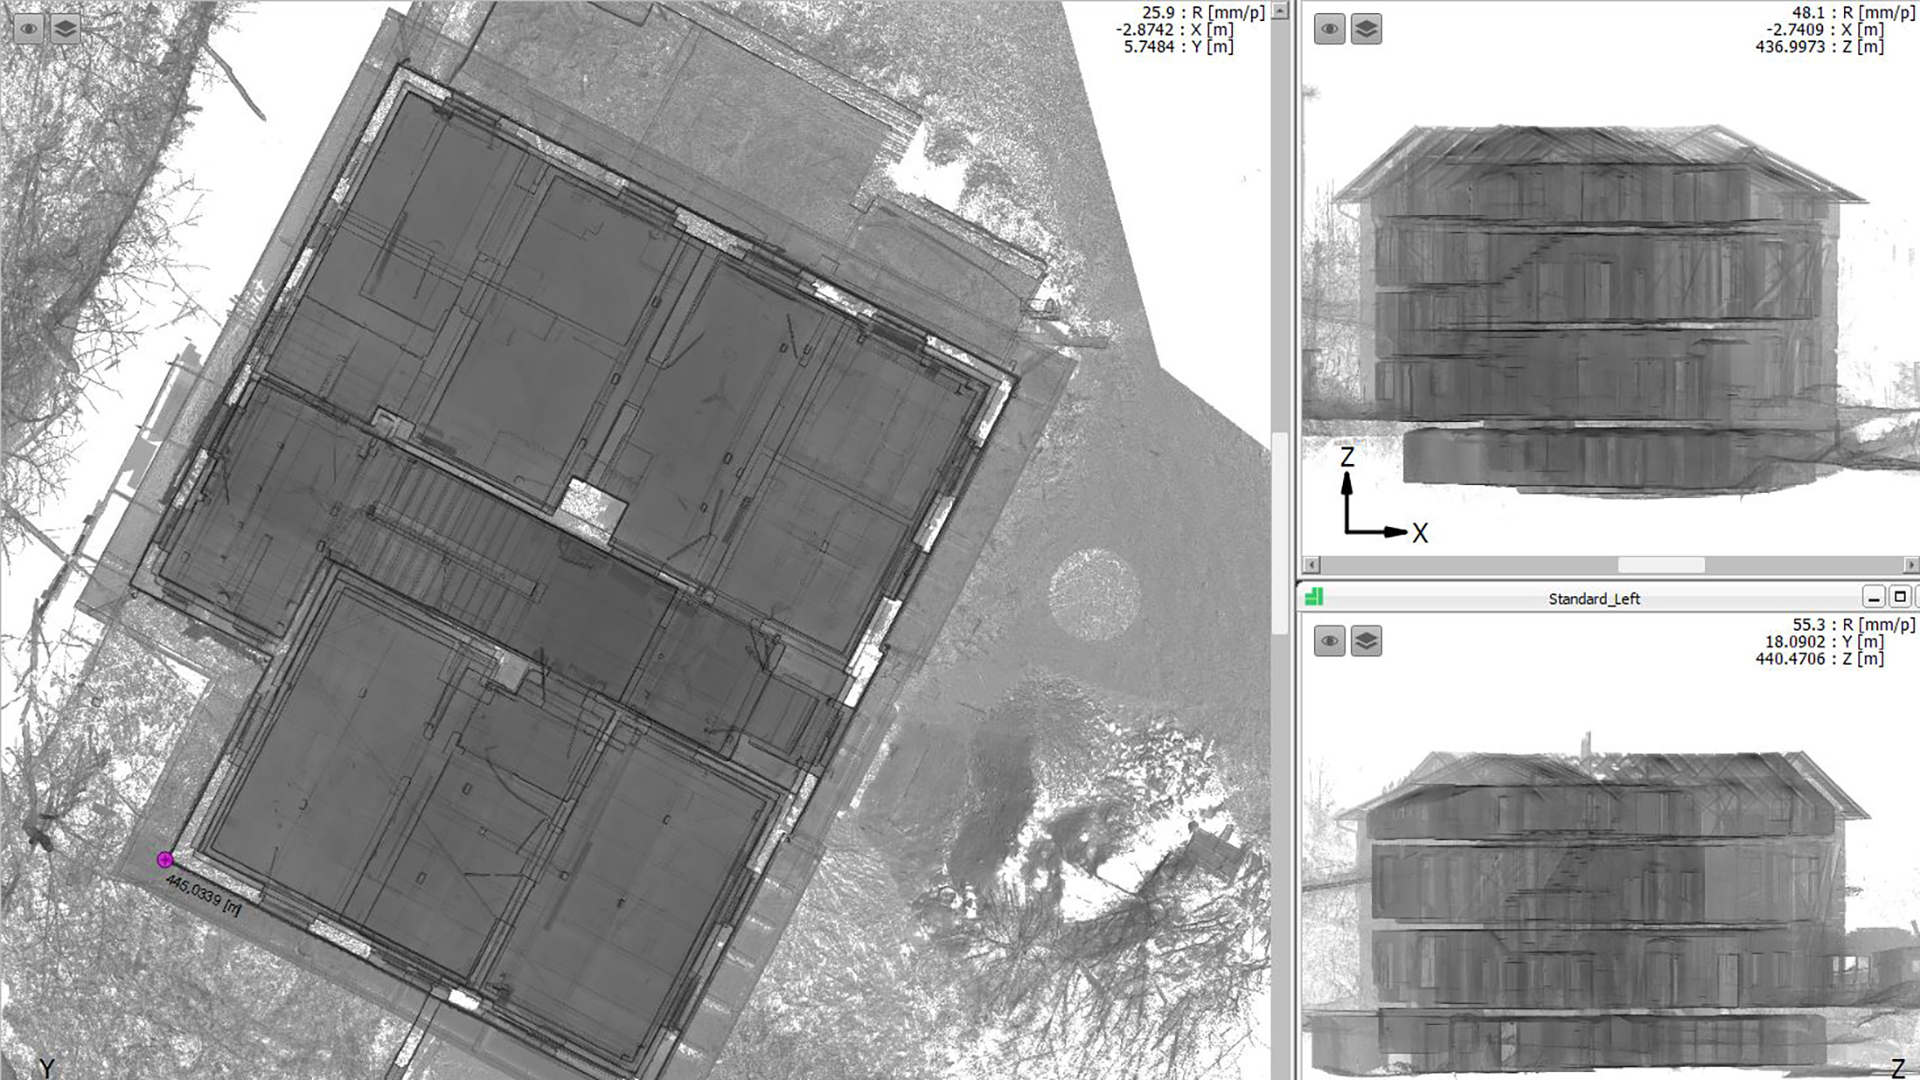
The fast analysis and interpretation ensures project success
By now, current laser scanners capture up to 1.000.000 points per second. When you look at this impressive number, you deduce that you cannot merge these measured points manually.
For the efficient processing, you need the ideal workflow. It depends on the case of application if you need special point cloud software in addition. The focus should be on your desired result because you are not interested in point cloud software but in the best result. It is exactly this understanding which makes our consulting exceptional. We are not satisfied until you achieve the perfect results.
Speed – Compatibility – Ease of use
- In which CAD software do you want to use your results?
- Do you want to work with the points and interpret them manually?
- Do you want to use automated methods for the analysis and interpretation?
- How can the results be documented?
- How much effort is necessary in order to learn the handling of the software?
- Do I have a competent contact person even after the training?
- How do I estimate the expenses for the analysis and interpretation?
The appropriate software and the optimum workflow determine the success of your project verifiably. Due to our comprehensive consulting, you save time, energy and expenses. We advise: Inform yourself before you invest. Benefit from the free first consulting.
TitleYour advantages at a glance
Advantages: Laser scanner hardware
- Independent and free consulting in terms of laser scanner hardware
- Rental of hardware or training on a project determined by you
- Optional credit note for the expenses for the training if you acquire a scanner
- Basics of the estimated expenditure
Our experience for your safety
- Support in the estimated expenditure in the field of laser scanning
- Instruction to efficient laser scanning project handling
- Data processing and data management
- Support in the estimation of the data analysis
Advantages: Laser scanning software
- Independent and free consulting in terms of appropriate software applications
- Non-binding loan of appropriate software solutions
- Technical support for the processing from point cloud to CAD
- Trainings on modeling
- Expense budgeting for the analysis and interpretation of your data