Tutorial: Scanning with DPI-8 and data import in FARO Scene

TitleDotProduct DPI Kit
Im Folgenden beschreiben wir Ihnen kurz die Schritte, wie Sie mit einem DotProduct DPI-8 Handscanner Daten erfassen, die Scandaten exportieren und in FARO Scene importieren können.
TitleDPI-8 starten
1. Starten Sie den DPI-8 Scanner.
2. Öffnen Sie die App Phi.3D.

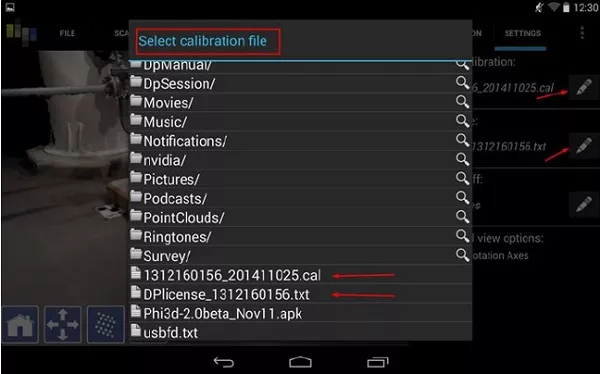
3. Falls noch nicht vorhanden, öffnen Sie die Kalibrierungsdatei.
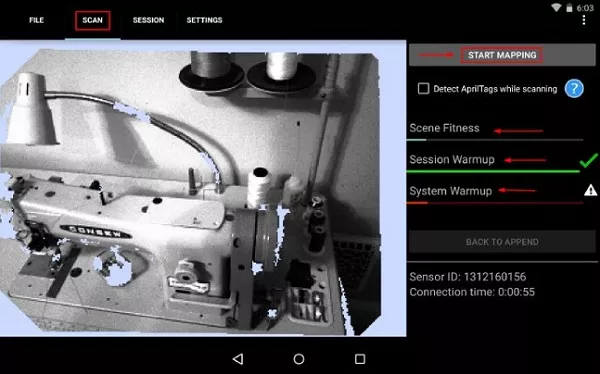
4. Warten Sie, bis das System sich erwärmt hat und der Scanbereich erkannt wurde.
TitleOptional: Passmarken anbringen
Um noch genauere Ergebnisse zu erhalten, können Sie Passmarken am Scan-Objekt anbringen:
AprilTags: für die lokale Registrierung (AprilTags werden automatisch von Phi.3D erkannt).


Schachbrettzielmarken: für die Stationierung mit terrestrischen Laserscannern oder das Georeferenzieren mit Vermessungspunkten
TitleScannen
1. Wählen Sie START MAPPING und erfassen Sie den gewünschten Bereich mit dem DPI-8 Scanner. Der Erfassungsbereich liegt zwischen 0,6 m und 3,7 m.
2. Öffnen Sie die Registerkarte OPT und starten Sie die globale Optimierung (GLOBAL OPTIMIZATION).

3. Um das Projekt zu speichern, öffnen Sie die Registerkarte FILE und wählen Sie SAVE SCENE.

TitleProjekt exportieren
1. Öffnen Sie die Registerkarte FILE und wählen Sie EXPORT

2. Um die Scans später in FARO Scene zu importieren, wählen das Exportformat PTS aus.

3. Wählen Sie unter den Exportoptionen das Format XYZI aus.
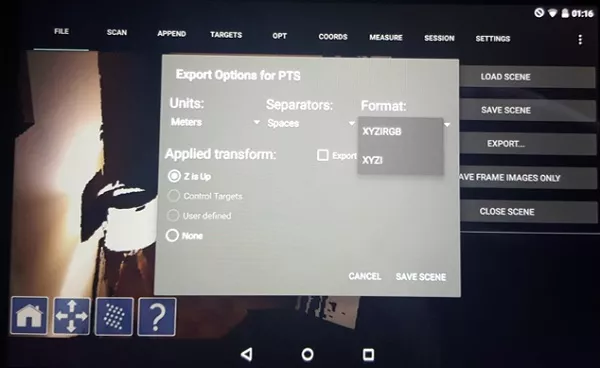
4. Legen Sie das Koordinatensystem fest.
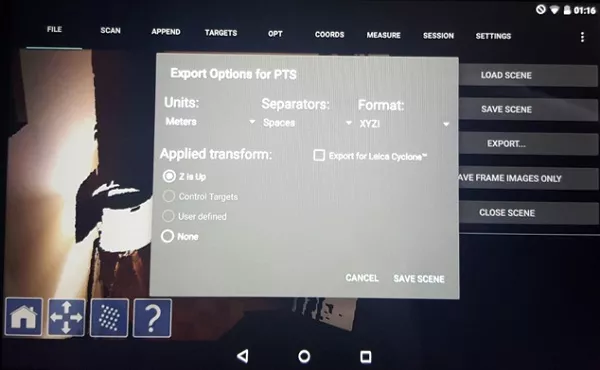
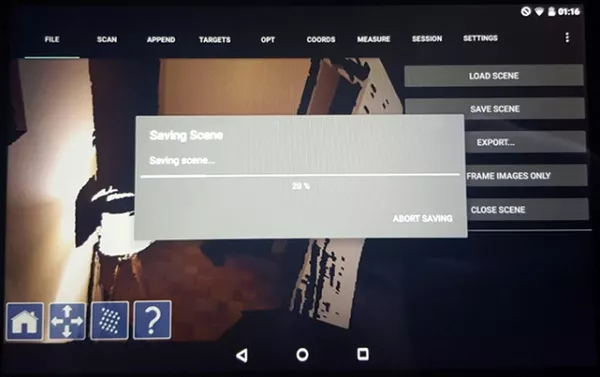
5. Exportieren Sie das Projekt, indem Sie SAVE SCENE auswählen.
TitleProjekt in FARO Scene importieren
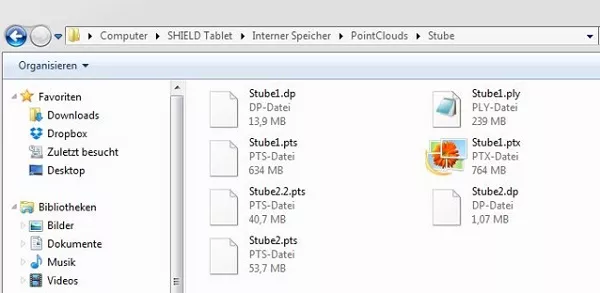
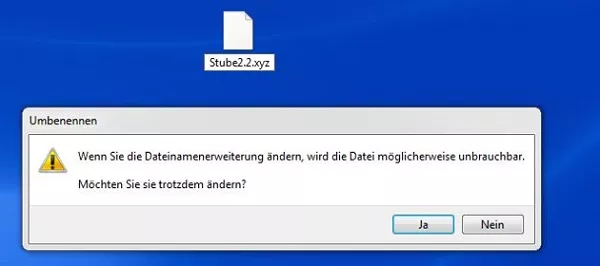
1. Um das Projekt in FARO Scene zu importieren, kopieren Sie die Datei auf die Workstation und benennen Sie die Datei in XYZ um.
2. Legen Sie ein Projekt in FARO Scene an und importieren Sie die Daten des DPI-8 per Drag&Drop.